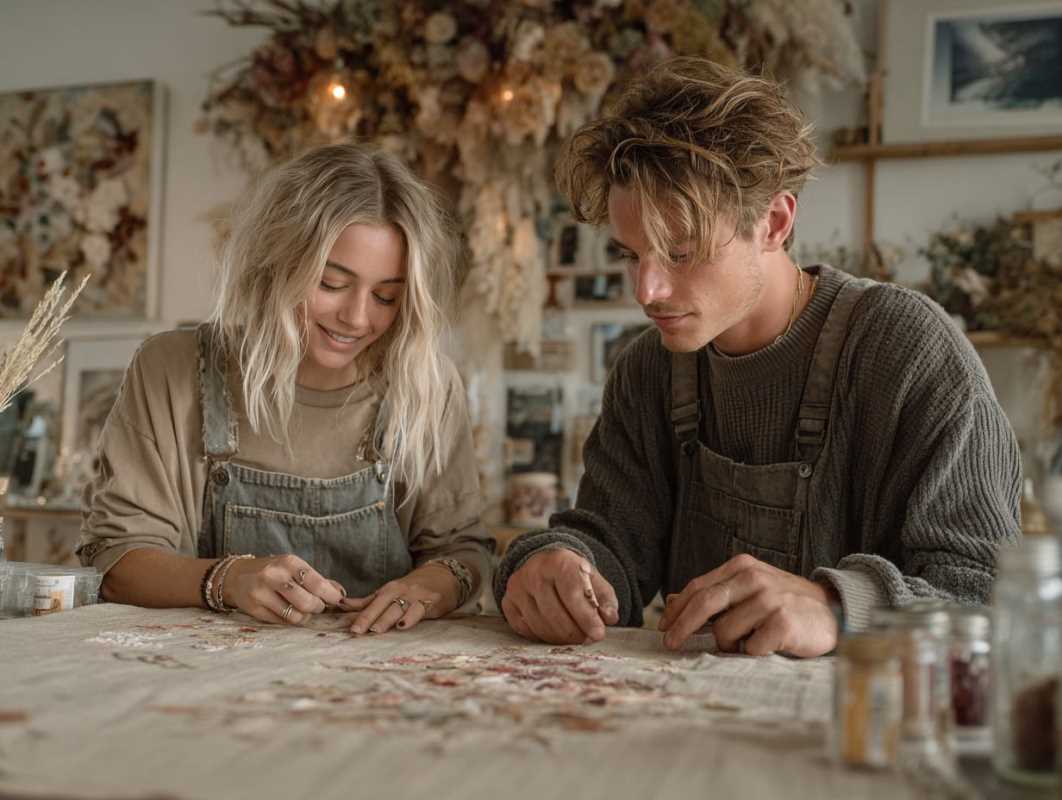
 (Image source: Midjourney)
 There's a special kind of magic that happens when you gather around a table with craft supplies. It's a chance to slow down, get your hands a little messy, and create something tangible in a world that’s increasingly digital. Crafting together is one of the best ways to connect, offering a low-pressure environment where conversation can flow as easily as the glitter, which, be warned, will get everywhere. While kids are natural-born creators, adults often forget how joyful it can be to make something just for the fun of it. Finding projects that genuinely appeal to both can be tricky, but seasonal crafts offer the perfect solution.
Tuning into the rhythm of the year gives us a built-in theme, from the crisp colors of autumn to the fresh pastels of spring. These projects not only provide a great excuse to unplug and spend quality time together but also result in beautiful, personal decorations that celebrate the current season. The goal isn't to create a museum-worthy masterpiece; it's about the shared experience of collaboration, the problem-solving when the glue won't stick, and the collective pride in the finished product. Let's dive into some seasonal craft ideas that are engaging enough for adults and simple enough for kids to love.
Autumnal Leaf Art Collages
As the weather cools and the trees put on their spectacular annual show, nature provides us with the most beautiful, and free, craft supply: colorful autumn leaves. Creating leaf art is a two-part adventure, starting with a trip outdoors to hunt for the perfect specimens. This gets everyone moving and breathing fresh air, turning the material-gathering phase into its own memorable activity. Look for a wide variety of colors, shapes, and sizes, fiery reds from maples, sunny yellows from aspens, and rich browns from oaks. The hunt itself is a wonderful opportunity to talk about nature and the changing seasons.
Once you have your leafy treasures, the creative part begins. You can press the leaves for a few days between heavy books to flatten them, or use them fresh for a more three-dimensional look. Give everyone a sturdy piece of cardstock or a canvas and let their imaginations run wild. Kids might enjoy creating whimsical leaf animals, using a large maple leaf as a body, a small one for a head, and twigs for legs. Adults can take a more abstract approach, creating a beautiful gradient of color or an intricate mosaic pattern. The process is simple, forgiving, and results in a stunning piece of natural art that perfectly captures the beauty of fall.
Handcrafted Winter Holiday Ornaments
When the holidays roll around, there's nothing more charming than decorating a tree with ornaments that hold personal memories. Instead of relying solely on store-bought decorations, dedicate an afternoon to crafting your own. Salt dough ornaments are a classic for a reason: the recipe is incredibly simple (just flour, salt, and water), the dough is easy for little hands to work with, and the creative possibilities are endless. Making the dough together is a fun, sensory experience, and rolling it out and cutting shapes with cookie cutters is an activity everyone can enjoy.
Once you've cut out your stars, snowflakes, and gingerbread-people shapes (don't forget to poke a hole at the top for the ribbon!), you bake them at a low temperature until they are hard. Then comes the best part: decorating. Break out the acrylic paints, glitter, and glue. This is where individual personalities can truly shine. A child might create a rainbow-colored star, while an adult might attempt a more detailed pattern or even personalize ornaments with names and the year. These little creations become cherished keepsলাইনেs, and unpacking them each year is a wonderful trip down memory lane, sparking stories of the day they were made.
Springtime Pressed Flower Art
As the world reawakens in spring, it brings with it an abundance of delicate flowers and blossoms. Flower pressing is a timeless craft that preserves the fleeting beauty of the season, and it’s a wonderfully calming and mindful activity to do together. The process starts with a gentle walk to collect your materials. Gather a variety of small, relatively flat flowers and interesting leaves, things like pansies, violets, forget-me-nots, and fern leaves work beautifully. This initial collection phase is a great way to teach children the names of different flowers and to appreciate the delicate details of nature.
To press the flowers, carefully arrange them between two sheets of parchment paper and place them inside a heavy book. Let them press for a week or two until they are completely dry and paper-thin. Once they’re ready, you can use them to create beautiful, ethereal art. Arrange the pressed flowers on a piece of quality paper to be framed, or use them to decorate bookmarks, cards, or phone cases. A light touch with a pair of tweezers and a tiny dab of glue is all you need. The intricate, almost translucent quality of the pressed flowers makes for a stunning final product that feels both elegant and deeply connected to nature.
- Fall Leaf Art: Collect a variety of colorful leaves, twigs, and other natural items. You'll need heavy cardstock or canvas, and clear-drying craft glue. Pressing leaves in a heavy book for a few days first is optional but helpful.
- Holiday Salt Dough Ornaments: You’ll need 2 cups of all-purpose flour, 1 cup of salt, and 1 cup of warm water. For decorating, gather acrylic paints, brushes, glitter, and ribbon for hanging.
- Pressed Flower Crafts: Collect small, flat flowers and leaves. You'll need heavy books, parchment paper, tweezers, craft glue, and a surface to decorate (like cardstock, bookmarks, or clear phone cases).
Festive Summer Tie-Dye Creations
Nothing says summer quite like the vibrant, swirling colors of tie-dye. This is a wonderfully energetic and slightly messy craft that is perfect for a sunny afternoon in the backyard. It’s an exciting process with an element of surprise, as you never know exactly how your creation will turn out until the final reveal. The craft is scalable for all ages; adults can experiment with complex folding techniques to create intricate patterns, while kids can have a blast simply scrunching and rubber-banding a t-shirt and squirting on their favorite colors.
Start with 100% cotton items, t-shirts, socks, tote bags, or pillowcases all work great. Set up a dyeing station outside with your supplies protected by a plastic tablecloth. Mix your dyes according to the package instructions, and then let the folding, twisting, and coloring begin. The real fun is in the collaboration, sharing colors and seeing how different patterns emerge. After letting the dye set for several hours, the big reveal is a moment of shared excitement. Each piece is a unique, wearable piece of art that will serve as a fun reminder of a creative summer day every time it’s worn.
Spooky and Sweet Halloween Luminaries
As Halloween approaches, creating a spooky and fun ambiance is half the fun. While carving pumpkins is a classic, it can be a bit challenging (and dangerous) for younger kids. A fantastic and safer alternative is crafting decorated glass jar luminaries. This simple project transforms recycled glass jars into glowing, ghoulish decorations that can be used to light up your porch or as a spooky centerpiece. Start by collecting clean glass jars of various sizes, pickle jars, jam jars, and sauce jars are perfect.
The decorating possibilities are endless. You can wrap the jars in orange or white tissue paper to create a diffused glow, then glue on black paper cut-outs of spooky faces, bats, or ghosts. Another fun technique is to paint the jars. Use acrylic paint on the outside to create monsters, mummies (by adding googly eyes), or candy corn stripes. For a simpler approach, kids can just have fun painting abstract, spooky designs. Once the jars are dry, pop a battery-operated tea light inside. The flickering light shining through your custom designs creates a perfectly eerie effect that everyone will be proud to display.